9-3. WritePost 에 TextArea 띄우기
텍스트 내용에 따라 크기가 자동으로 조정되는 react-textarea-autosize 를 설치하세요.
$ yarn add react-textarea-autosize
그 다음엔, WritePost 에서 방금 설치한 컴포넌트 라이브러리를 불러와서 스타일링 하고 보여주겠습니다.
src/components/Home/WritePost/WritePost.js
import React from 'react';
import styled from 'styled-components';
import oc from 'open-color';
import { shadow } from 'lib/styleUtils';
import Textarea from 'react-textarea-autosize';


const Wrapper = styled.div`
    width: 768px;
    margin: 0 auto;
    padding: 1rem;
    background: ${oc.gray[7]};
    position: relative;
    ${shadow(1)}
`;

const StyledTextarea = styled(Textarea)`
    width: 100%;
    background: transparent;
    border: none;
    resize: none;
    outline: none;
    font-size: 1.5rem;
    font-weight: 300;
    color: white;
    ::placeholder {
        color: ${oc.gray[3]};
    }
`;

const WritePost = ({onChange, value}) => (
    <Wrapper>
        <StyledTextarea minRows={3} maxRows={10} placeholder={`의식의 흐름대로 당신의 생각을 적어보세요.\n5초이상 아무것도 입력하지 않으면 자동으로 포스팅됩니다.`}/>
    </Wrapper>
);

export default WritePost;
StyledTextarea 에서는 Textarea 에 스타일을 적용해주는데요, 기본 스타일인 테두리, 아웃라인, 배경색 등을 무효화해줍니다. ::placeholder 부분은 아무것도 입력 되지 않은 상태 일 때 폰트색을 정해줍니다.
Textarea 에는 최대 10줄까지 작성 가능하며, 기본적으로는 3줄 사이즈로 설정됩니다.
그리고, 나중에 컨테이너 컴포넌트에서 전달받을 onChange 와 value 값을 Textarea 에 전달해주었습니다.

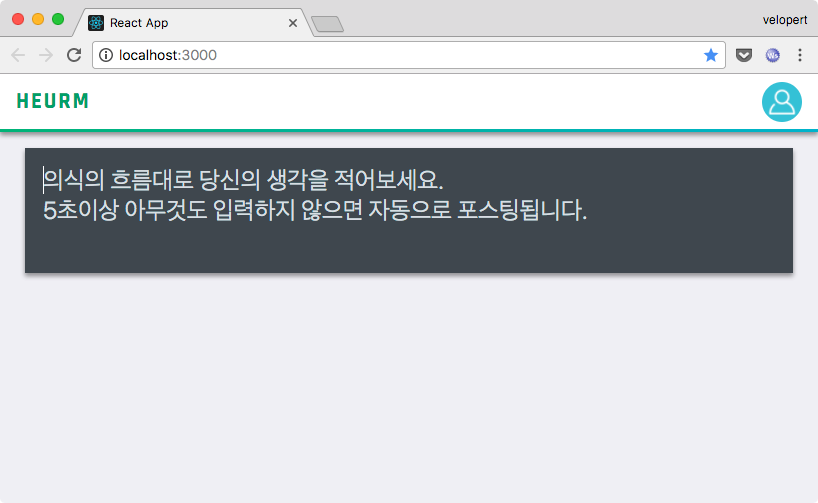
이렇게 스타일링된 Textarea가 나타났다면 성공입니다.